I tiled my first bathroom at thirty-two years old with complete confidence and absolutely no idea what I was doing. The tiles were fine. The grout color was wrong, the layout was slightly off-center, and I’d chosen a size that made the small room feel like a hospital corridor. My second bathroom attempt was better but still produced a result I couldn’t fully love. The third time, armed with genuine knowledge about modern ceramic tile options and proper planning principles, I created a bathroom I walk into every morning with real pleasure. That education is what I want to share here.
Modern ceramic bathroom tiles have evolved dramatically from the limited options available even fifteen years ago. Large format tiles in sizes up to 24 by 48 inches create seamless, expansive wall surfaces that reduce grout lines and make rooms feel considerably larger than standard sizes achieve. Textured ceramic tiles with three-dimensional surface relief add tactile and visual depth that flat tiles can’t produce. Tiles printed with realistic stone, wood, concrete, and terrazzo patterns offer the look of premium natural materials with the practical advantages of ceramic durability and consistent pricing. The category has genuinely expanded into territory that rewards exploration and rewards it generously.
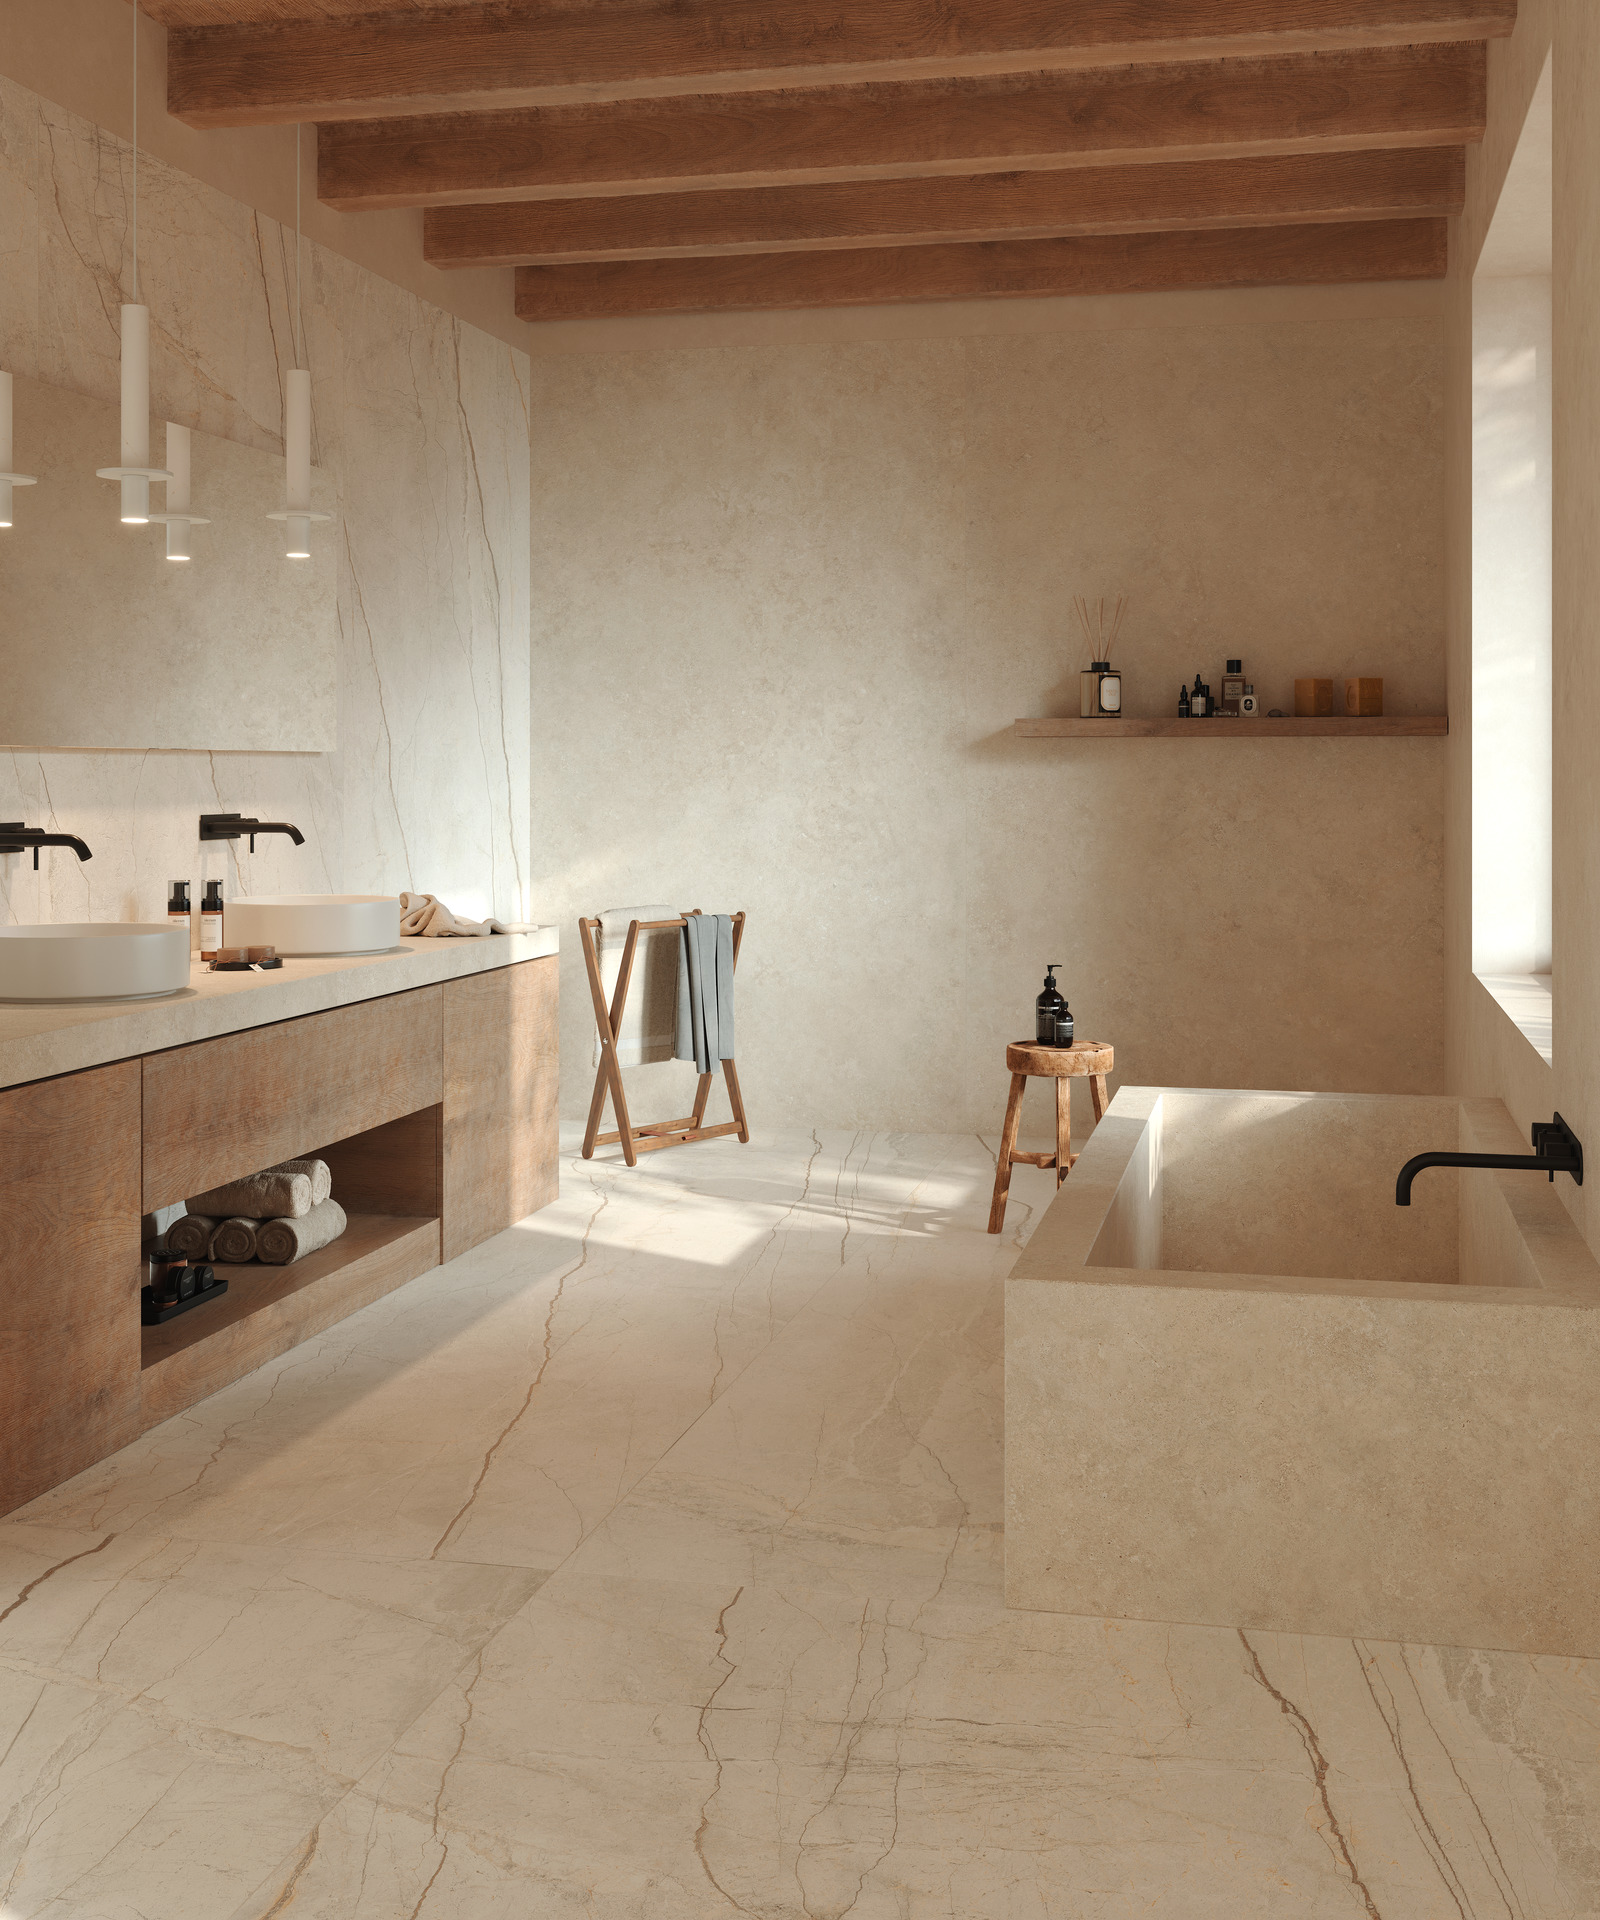
Size selection was the lesson that took me longest to learn properly. My first bathroom used four-inch square tiles on a floor that measured only 45 square feet, and the resulting grout grid overwhelmed the space visually and created more grout maintenance than the room justified. Modern bathroom design generally favors larger tiles for their cleaner visual impact and reduced grout line presence. For floors, 12 by 24-inch and 18 by 18-inch tiles read as clean and spacious in most standard bathroom sizes. For walls, large format tiles from 12 by 24 upward create an almost seamless surface quality that feels genuinely contemporary and luxurious rather than tiled in the traditional sense.
Surface finish is a dimension of ceramic tile selection that carries both aesthetic and practical consequences worth understanding before purchasing. Glossy glazed ceramic reflects light beautifully and cleans easily, making it excellent for walls where slip resistance isn’t a concern. Matte ceramic creates a softer, more contemporary look that hides water spots better than glossy surfaces and provides better traction underfoot for floor applications. Textured ceramic with slight surface variation offers the best floor traction while still being manageable to clean with regular sweeping and mopping. I use glossy large format ceramic on my shower walls and matte ceramic on the floor, which creates a subtle surface contrast that defines the transition between the two planes.
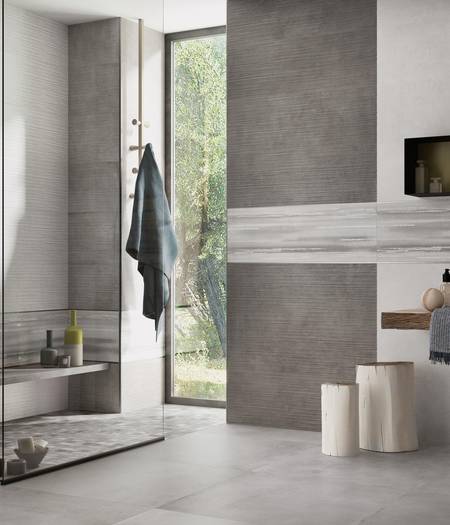
Color selection is where I’ve made my most consequential and occasionally regrettable tile decisions over three bathroom projects. My first bathroom used a warm beige tile that felt dated almost immediately. My second used a cool gray that felt contemporary but cold in a room with limited natural light. My current bathroom uses warm white ceramic with a slight hand-made variation in the glaze that prevents the surface from reading as sterile while maintaining the brightness that makes a bathroom feel clean and welcoming. Warm whites and soft off-whites are the choices I consistently return to because they age well, pair with virtually every fixture finish, and never start feeling like a trend that has passed.
Grout color deserves as much consideration as tile color, and I’d argue it deserves a separate decision process rather than an afterthought selection made while purchasing tile. Matching grout to tile creates the most seamless, expansive look and minimizes the visual presence of the joint lines. Contrasting grout, dark grout with light tile being the most common combination, emphasizes the tile pattern and makes each tile read as an individual unit rather than part of a continuous field. I used a warm gray grout with my warm white tiles, which is close enough to reduce visual noise but distinct enough to define the tile geometry subtly without dominating it the way stark white or stark dark grout would.

Layout pattern is the variable that transforms the same tile into completely different visual experiences depending on how it’s arranged on the wall or floor. Straight stack installation with tiles aligned in a grid creates the most contemporary, minimal look. Brick offset, where each row shifts by half a tile width, is the classic subway tile pattern with enormous versatility across style ranges. Herringbone installation creates a dynamic diagonal energy that reads as decorative and distinctive. Vertical stack installation with tiles turned 90 degrees makes ceilings feel higher. I used a vertical large format tile installation in my shower that elongated the space noticeably and I consider it one of the best layout decisions I’ve made in any tiling project.
Rectified versus non-rectified ceramic is a technical distinction that affects installation precision and final appearance more than most tile buyers realize before they’ve lived with both options. Non-rectified tiles have slightly irregular edges from the firing process and require wider grout joints of three-sixteenths to one-quarter inch to accommodate size variation between tiles. Rectified tiles are mechanically cut after firing to precise dimensions, allowing grout joints as narrow as one-sixteenth inch that create almost seamless installations. For large format contemporary tile work where minimal grout lines are part of the design intent, rectified tiles are essentially required to achieve the clean, continuous surface quality that makes modern ceramic tile installations so visually compelling.

Installation quality determines how well even the best tile performs over years of bathroom use, and this is the area where I finally stopped trying to reduce costs by doing it improperly. Proper substrate preparation, including waterproof membrane in wet areas, correct thinset selection for the tile size and substrate combination, and meticulous leveling using a lippage control system for large format tiles, produces installations that maintain their quality indefinitely. My previous installations developed lippage on large format tiles because I hadn’t used leveling clips during installation, and the raised edges caught light in ways that revealed every imperfection. Professional installation or properly executed DIY with the correct materials produces results worth every bit of the care invested.
After three bathroom tiling projects and a genuinely significant education in what makes ceramic tile work well or poorly, my honest advice is to spend more time planning than shopping. Walk through the installation in your mind before purchasing a single tile. Consider the layout pattern, the grout color, the surface finish, the size relative to your specific room dimensions, and the contrast between wall and floor tile selections. The tile itself is only one part of what creates a finished bathroom surface that you’ll live with happily for fifteen years or replace reluctantly after five. Get the planning right, and the right tile selection follows naturally from the clear vision that good planning always produces.
What’s the difference between ceramic and porcelain bathroom tiles?
Ceramic is made from clay fired at lower temperatures, producing a slightly softer, more porous tile that’s easier to cut and generally less expensive than porcelain. Porcelain is fired at higher temperatures with denser clay mixtures, creating a harder, less porous tile that withstands heavy traffic and moisture better than ceramic. For bathroom walls and light-traffic floors, quality ceramic performs excellently. For shower floors and high-traffic bathroom floors, I’d choose porcelain for its superior density and water resistance. Both are excellent choices when selected appropriately for their specific location within the bathroom.
How do I choose the right tile size for a small bathroom?
Counter-intuitively, larger tiles often make small bathrooms feel bigger rather than more cramped, because fewer grout lines create a more expansive surface impression. A 12 by 24-inch tile in a 50 square foot bathroom typically reads as more spacious than a 4 by 4-inch tile in the same space. The practical limit is tiles so large that cutting waste becomes excessive in a small room. I find 12 by 24 or 12 by 12-inch tiles hit the sweet spot for small bathrooms, providing the clean visual expansion of larger formats without the cutting complexity and material waste that very large formats produce in compact rooms.
How important is slip resistance for bathroom floor tiles?
Extremely important, and I treat it as a non-negotiable requirement for any floor tile in a wet area. The coefficient of friction rating, or COF, measures slip resistance. Bathroom floors should meet a minimum COF of 0.42 for wet conditions, and I personally prefer tiles rated 0.50 or higher for added safety margin. Matte and textured ceramic finishes generally achieve better wet slip resistance than glossy finishes. In the shower specifically, where floors are continuously wet, I use tiles with genuine texture or a smaller format with more grout lines, since grout provides additional traction that large smooth tiles lack.
Can I install large format ceramic tiles myself?
Yes, with proper preparation and the right tools, but large format tiles demand more precision than standard sizes. The substrate must be perfectly flat, as large tiles bridge surface imperfections that smaller tiles would follow and conform to. A notched trowel sized appropriately for the tile dimensions, back-buttering each tile for full coverage, and using a lippage control leveling system are all essential steps that make the difference between a professional result and one that reveals imperfections every time light rakes across the surface. I’d recommend practicing with smaller tiles first if you haven’t tiled before, and watching detailed installation videos specifically covering large format work before starting.

How do I prevent grout from staining in a bathroom?
Sealing grout before it’s exposed to daily use is the most effective preventive measure I’ve found. Apply a penetrating grout sealer within 72 hours of grout curing and reapply annually thereafter. Epoxy grout is an alternative that requires no sealing and resists staining inherently, though it’s more difficult to apply and work time is limited. For daily maintenance, wiping shower walls after use with a squeegee reduces the soap scum and mineral deposit accumulation that stains grout over time. Avoiding bleach-based cleaners preserves grout integrity for the long term since bleach degrades grout sealers and eventually the grout itself.
What’s a realistic budget for modern ceramic bathroom tile?
Quality ceramic tiles for a standard bathroom of approximately 50 square feet of floor and 120 square feet of wall tile start around $2 to $5 per square foot for basic options and $5 to $12 per square foot for mid-range modern formats with interesting textures or patterns. Large format and specialty tiles reach $15 to $30 per square foot. Professional installation adds $8 to $15 per square foot depending on tile size, layout complexity, and your location. Budget total materials and installation between $2,500 and $6,000 for a complete standard bathroom tile job at mid-range quality. Always purchase 10 to 15 percent extra material beyond calculated square footage for cuts, breakage, and future repairs.

Stacked Subway Tile: 6 Way to Rock the Look Green tile bathroom, Unique bathroom tiles

RESTROOM CERAMIC TILE DESIGN SUGGESTIONS

Things Nobody Tells You About Zellige, the Trendiest Tile of 2019 – Remodelista Zellige

Related Posts: