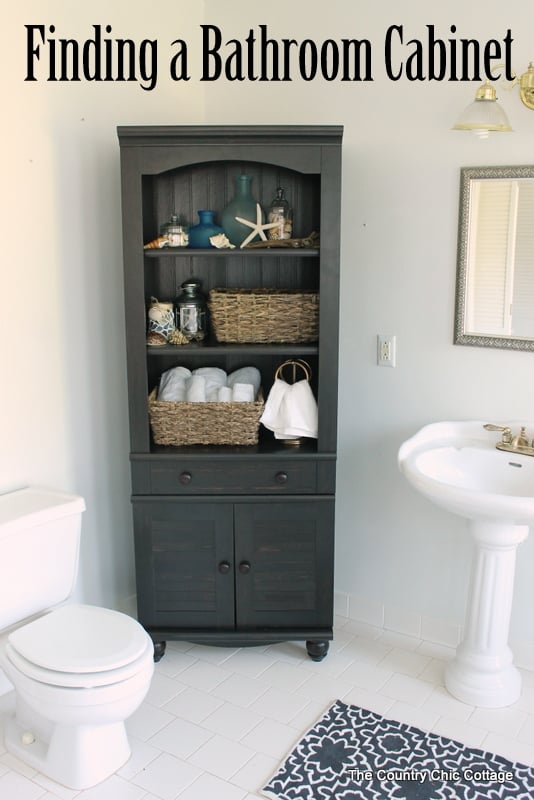
I never planned on building a bathroom cabinet. My tiny half bath had zero storage, and every ready-made tower cabinet I found online was either flimsy particleboard or priced like a piece of furniture I’d actually want in my living room. I remember scrolling through page after page of options, clicking on ones that looked promising, then reading the reviews and seeing complaints about wobbly shelves or doors that wouldn’t close right. One Saturday morning, coffee in hand and more than a little frustrated, I decided I’d just make one myself. That decision, which felt almost impulsive at the time, turned into one of my favorite home projects and honestly changed how I think about furnishing small spaces in general.
The first step was measuring my space obsessively, three times, because bathrooms are sneaky with their uneven walls and baseboards that never seem to match what a tape measure tells you on paper. I wanted something tall and narrow, maybe 70 inches high and just 12 inches deep, to slide neatly between my toilet and the wall without eating into my already limited floor space. Sketching it out on paper helped me visualize shelf spacing before I ever touched wood, and I found myself erasing and redrawing the layout probably five or six times until it finally felt right. I also spent time looking at photos of finished cabinets online just to get a sense of proportions, because something that looks great in a wide bathroom can look completely out of place crammed into a narrow one like mine.

For materials, I went with plywood for the main body and solid pine for the face frame, a combination I’d read about in a few woodworking forums and decided to trust. Plywood gave me strength without the weight or cost of solid hardwood throughout, which mattered a lot since I was working alone and didn’t want to wrestle with heavy panels by myself. I picked up a sheet of 3/4 inch birch plywood, some 1×2 pine boards, and a few sheets of thin cabinet-grade backing from my local hardware store, along with wood glue, screws, and a box of pocket hole screws I wasn’t even sure I’d use correctly at first. Total materials came to under a hundred dollars, which felt like a steal considering how much I’d been quoted for something similar at a furniture showroom just a week earlier.
Cutting the pieces was where patience mattered most, and honestly where I made most of my early mistakes. I used a circular saw with a straightedge guide since I don’t own a table saw, and honestly, that setup did a fine job once I got the hang of clamping the guide down properly so it wouldn’t shift mid-cut. I cut the two side panels, top, bottom, and back panel first, then measured for adjustable shelves, double checking every measurement against my sketch before committing to a cut. Sanding every edge smooth took longer than I expected, probably a solid two hours spread across an afternoon, but rough edges bother me more than almost anything, especially on something that’s going to sit in a bathroom where bare feet and towels are constantly brushing past it.

Assembly felt like the moment everything came together, literally and emotionally, since up until that point all I had was a pile of cut boards that didn’t look like much of anything. I used wood glue along with pocket hole screws for the main box, which gave me clean, strong joints without visible hardware on the outside, something I really appreciated once the cabinet was painted and every seam disappeared. Clamping everything square before the glue set was a step I almost skipped because I was eager to see progress, and I’m glad I didn’t, because one crooked cabinet taught me that lesson early on a different project years ago and I wasn’t about to repeat that mistake here. I remember standing back after the glue dried, tapping the sides to check for any wobble, and feeling a small wave of relief when everything held firm.
Once the box was solid, I built a simple face frame from the pine boards and attached it with glue and finish nails, which gave the cabinet a more finished, furniture-like look instead of raw plywood edges showing along the front. I added a door using a basic butt hinge, though I later switched to soft-close hinges because slamming cabinet doors in a quiet bathroom is oddly jarring, especially early in the morning when you’re trying not to wake the rest of the house. Choosing the door style took some thought too, since I wanted something simple that wouldn’t clash with the rest of my bathroom’s fairly minimal look, so I went with a plain flat panel door rather than anything with raised molding or trim.

Painting turned into its own little adventure, one that taught me a lot about patience I didn’t know I had. I primed everything first, then applied two coats of a semi-gloss white paint meant for trim and cabinets, since bathrooms deal with humidity constantly and I didn’t want to redo this project in a year because the finish started peeling or bubbling. Between coats, I sanded lightly with fine grit sandpaper to keep everything silky smooth, wiping away the dust with a tack cloth before moving on, a step I definitely rushed on my first attempt and regretted when I noticed tiny bumps in the finish. The semi-gloss finish also makes wiping away toothpaste splatters incredibly easy, which as someone who lives with a somewhat messy morning routine, has been a genuinely practical bonus I didn’t fully anticipate when I chose it.
Installing the shelves was the fun part, adjustable shelf pins let me customize spacing for towels, toiletries, and that one basket of hotel shampoos I somehow keep collecting despite never actually using them. I made sure to leave one taller gap for extra towels and a shorter section for smaller bottles and skincare products, rearranging things more than once before settling on a layout that actually made sense for daily use. Adjustability like this is something you rarely get with cheaper store bought units, which often come with fixed shelves that never quite match what you actually need to store, forcing you to either waste space or cram things in awkwardly.

Securing the cabinet to the wall felt like a non negotiable step, especially with kids running through the house and occasionally treating furniture like a climbing wall. I used simple L brackets screwed into wall studs, hidden behind the cabinet where nobody would ever see them, using a stud finder to locate solid backing before drilling anything. This small addition gave me peace of mind knowing the tall, top heavy piece wouldn’t tip even if someone leaned on it or pulled open the door a little too enthusiastically while reaching for a towel.
Standing back and looking at the finished cabinet, I felt genuinely proud, more than I expected from a simple storage project that started as a way to solve an annoying problem in my house. It fit the space perfectly, held everything I needed, and cost a fraction of what a comparable piece would run at a furniture store, all while giving me a real sense of accomplishment every time I open the door and see everything organized exactly the way I wanted. If you’ve ever considered a DIY furniture project, a tall bathroom cabinet is a fantastic, approachable place to start, and I genuinely believe anyone with basic tools and a free weekend could pull off something similar.

How long did this project actually take you?
From measuring to final coat of paint, I spent about three weekends total, working a few hours here and there around my regular schedule. The actual building took one full day, but drying time between paint coats stretched things out considerably. If you’re experienced with tools, you could realistically finish in a single weekend.
Is plywood really durable enough for bathroom humidity?
Yes, especially cabinet grade plywood with proper sealing on every surface. I primed and painted every surface, including the inside, to protect against moisture buildup from daily showers. After two years, mine shows zero warping or swelling, even with regular shower steam nearby.
What tools do I absolutely need for this project?
A circular saw or table saw, drill, pocket hole jig, clamps, and a sander are essential for a clean build. I also used a level and stud finder for the final installation. You don’t need anything fancy, just reliable basic tools and a little patience.
How much did your total project cost?
I spent right around ninety five dollars on materials, including wood, hinges, paint, and hardware from my local store. That’s significantly cheaper than similar cabinets I found retailing for two to three hundred dollars online. Buying materials during a sale helped stretch my budget even further.

Can beginners really tackle this build successfully?
Absolutely, I was fairly new to woodworking when I built mine and still figured it out. Pocket hole joinery makes assembly forgiving and genuinely beginner friendly. Just take your time measuring, and don’t rush the sanding or painting steps.
How do you keep the cabinet from tipping over?
I anchored mine directly into wall studs using L brackets hidden behind the cabinet body. This step takes minutes but adds serious safety, especially in homes with children or pets. I’d never skip this on any tall, freestanding furniture piece.

Bathroom Cabinets
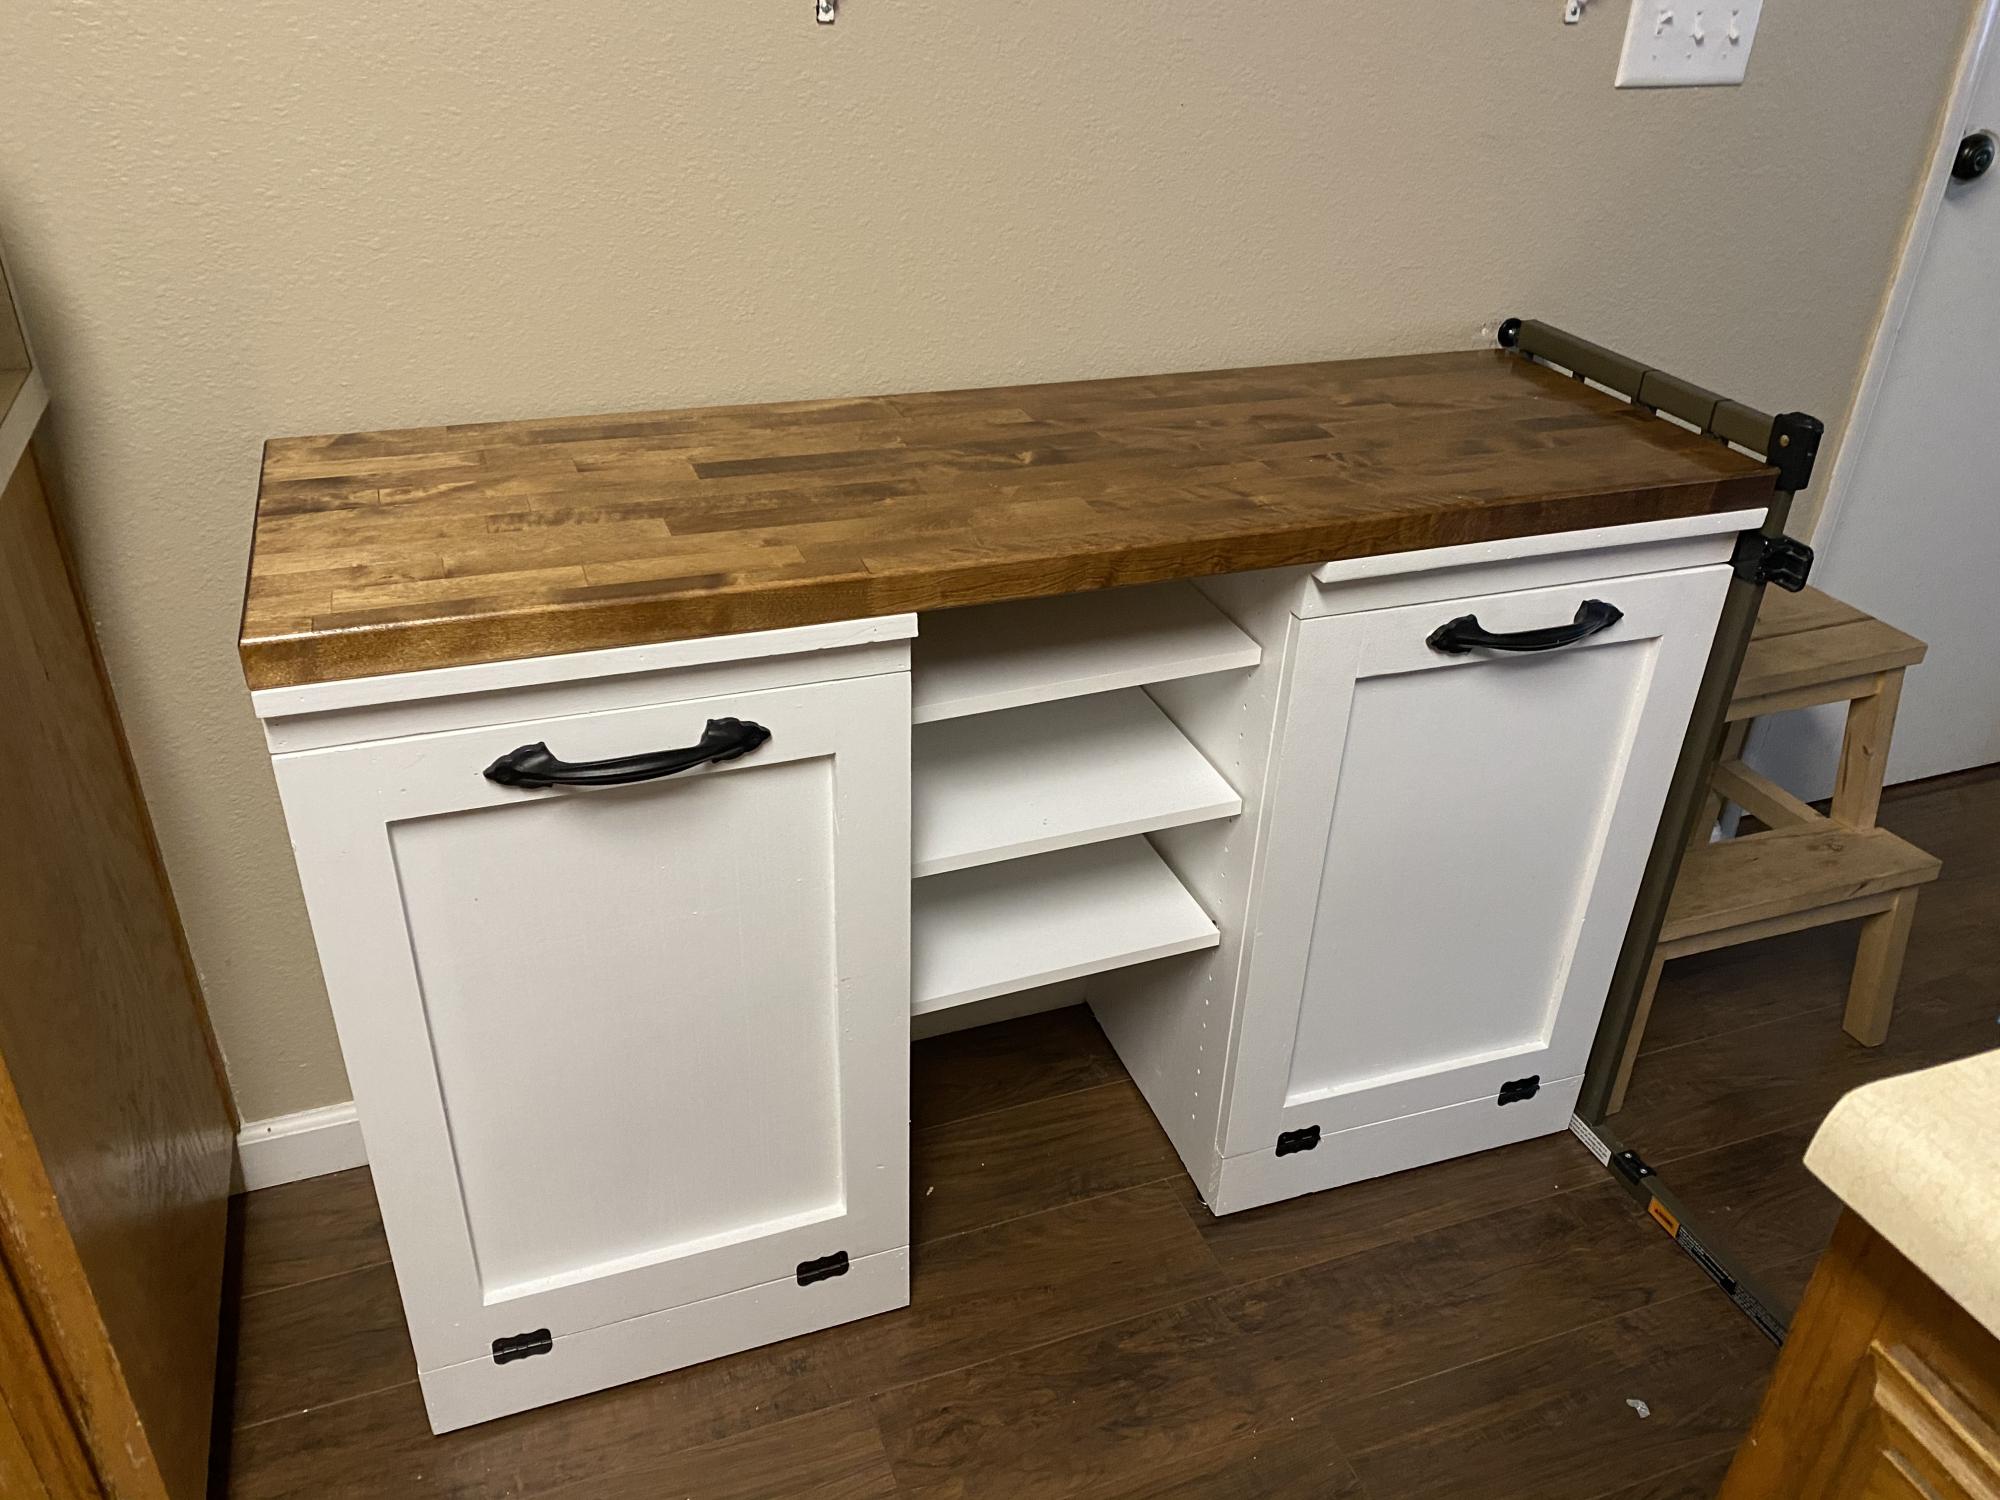
Garbage and recycling cabinet Ana White
Bathroom Cabinet Decorations Diy furniture, Decor, Bathroom cabinets

Crosley Seaside Tall Linen Cabinet

Tall Linen Cabinet With Doors Linen storage cabinet, Linen cabinets, Bathroom storage cabinet

Tall linen cabinet between two sinks – Google Search Bathrooms remodel, Bathroom remodel

Related Posts:
- Pull Out Bathroom Cabinet
- Bathroom Cabinet Toe Kick
- Bathroom Cabinet With Led
- Zanex Bathroom Cabinet
- Thomasville Bathroom Cabinets And Vanities
- Bathroom Cabinets With Lights And Demister
- Bathroom Cabinets Range
- Bathroom Cabinets With Tower
- Bathroom Cabinet Mirror Demister
- Double Door Mirrored Bathroom Cabinet